Advertisement
Popular Now


Introduction
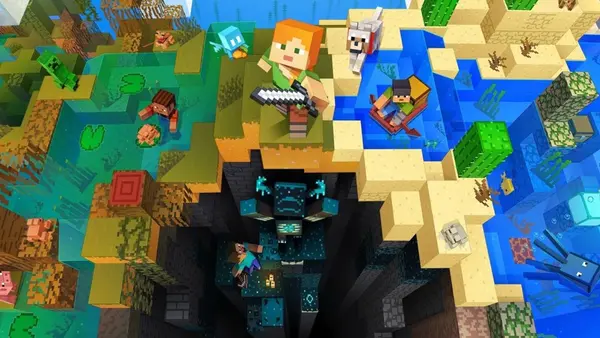
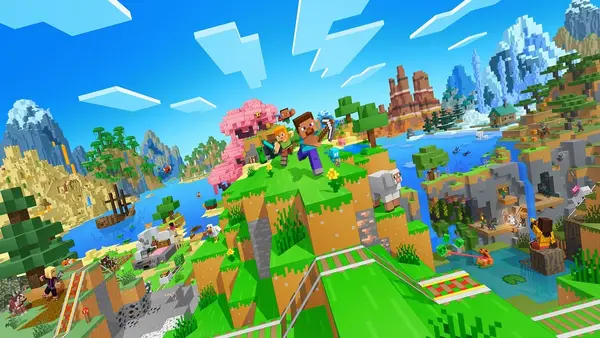
**Minecraft** remains one of the most iconic and widely played games in the world. With its open-ended gameplay, infinite world generation, and creative potential, it appeals to players of all ages. But for beginners, starting in Minecraft’s survival mode can feel overwhelming. This guide will walk you through every step from your first spawn to building your own thriving base. Let’s dive into how to survive and thrive in Minecraft.
1. Understanding the Basics: Game Modes and Mechanics
Before jumping into the blocky world, it's important to understand **Minecraft's game modes**. There are several: Survival, Creative, Adventure, Hardcore, and Spectator. For new players, **Survival** is the most immersive and popular mode, where you gather resources, fight off enemies, and stay alive. In Survival mode, you’ll face threats like mobs (monsters), hunger, and environmental dangers like lava. The core loop revolves around **mining** (gathering resources) and **crafting** (creating tools and items). Time in Minecraft follows a day-night cycle: days are peaceful, but **nights bring hostile mobs**.Game Mode Overview
- Survival: Collect, craft, and survive against mobs.
- Creative: Unlimited blocks to build freely.
- Hardcore: Survival with permadeath – high stakes!
2. Your First Day: Gathering Essential Resources
Upon spawning, the clock is ticking. You’ll want to gather **essential resources** quickly to survive your first night. Start by punching trees (literally) to collect wood. This allows you to craft your first set of tools: a wooden pickaxe and axe. Next, collect food—kill nearby animals like pigs, cows, or chickens. You’ll also need to **craft a crafting table**, a fundamental block that lets you create more advanced tools and items. Before sunset, gather stone to upgrade your tools and coal to make torches.Essential Items for Day 1
- Wood (at least 16 logs)
- Crafting Table
- Stone tools (pickaxe, axe, sword)
- Coal or charcoal for torches
- Basic shelter (dig into a hill or build with wood)
3. Surviving the First Night: Shelter and Light
Nighttime in Minecraft introduces danger: **zombies, skeletons, spiders**, and more. To survive, you’ll need a basic shelter with a door and lighting to prevent mobs from spawning nearby. If you don’t have coal, smelt wood in a furnace to create **charcoal**. Try to stay indoors through the night. Use the time to craft a furnace and cook your food. If you found sheep, craft a **bed** using wool and wood planks to skip the night entirely. Avoid venturing outside until morning.Tips to Survive the Night
- Place torches around your shelter
- Stay inside or dig into a mountain
- Sleep in a bed to skip nighttime
4. Mining and Resource Management
Mining is a huge part of Minecraft, offering access to essential ores like **iron, coal, redstone, gold, and diamonds**. Start by digging down in a staircase pattern to avoid falling. Always carry extra tools, torches, and food. At first, focus on collecting **coal and iron**. Iron allows you to upgrade your tools and armor, giving you a better chance against stronger mobs. Make sure to **smelt your ores** in a furnace and store your valuables in a chest.Common Ores and Uses
- Coal: Torches and smelting fuel
- Iron: Tools, armor, buckets
- Diamond: Best tools and armor (pre-Netherite)
5. Crafting Tools and Armor
Crafting upgraded tools is a key to progress. Once you’ve gathered iron, create an **iron pickaxe**—it can mine more valuable ores like redstone and diamonds. For protection, **iron armor** is a must before venturing into caves or facing mobs. Craft a **bucket** to carry water or lava, and a **shield** to block attacks from skeletons or creepers. Keep your inventory organized so you’re not scrambling during a battle or a fall into a lava pit.Crafting Essentials
- Iron Pickaxe
- Shield
- Iron Armor Set
- Bucket and Flint & Steel
6. Farming and Food Sustainability
Food is necessary to **regenerate health** and sprint. While animal hunting works early on, farming provides a stable source. Start a simple wheat farm using seeds from grass, and plant them near water. You can also grow potatoes and carrots found in villages. Later, expand into **animal farming**. Create pens for cows, chickens, and pigs, and breed them using wheat, seeds, or carrots. This provides a reliable source of meat, leather, and feathers. Use a **composter** to recycle plant waste into bone meal for faster growth.Basic Farming Setup
- Hoe + Seeds
- Water source
- Enclosed plots with fences
- Sunlight or torches for growth
7. Exploring and Finding Villages
Once you’re geared up, it’s time to explore. Villages are one of the most useful early-game finds. They often contain **beds, food, tools, and villagers** that you can trade with. You can also protect and upgrade villages for long-term benefits. Villagers have professions (farmer, blacksmith, librarian, etc.) and offer trades that can get you enchanted items, emeralds, and rare resources. Use a **cartography table** to generate maps or a **compass** to help find your way back home.What to Do in a Village
- Loot chests for free items
- Trade with villagers
- Set your spawn point by sleeping in a bed
- Protect villagers from zombie attacks
8. Enchanting and Advancing Your Gear
Once you’ve collected lapis lazuli and books, you can enchant your tools and armor. Create an **enchanting table** and surround it with **bookshelves** for higher-level enchantments. Enchanting is essential for long-term survival and exploration. Great early-game enchantments include **Protection, Sharpness, Efficiency, and Unbreaking**. Use an **anvil** to combine enchanted items or rename them. Keep in mind that enchantments cost experience, so keep mining and farming mobs to level up.Enchanting Requirements
- Enchanting Table
- Bookshelves (15 for max power)
- Lapis Lazuli + Experience Levels
9. Going to the Nether: Risks and Rewards
The **Nether** is a dangerous but rewarding dimension filled with new mobs, biomes, and resources. Build a **Nether portal** using obsidian (mined with a diamond pickaxe). Equip yourself with the best gear before entering. Inside, you’ll find **Nether fortresses**, **blazes**, and **Nether wart**, all essential for potion making. Be wary of ghasts and lava. Collect **quartz, glowstone, and ancient debris** (to upgrade to Netherite). Mark your portal so you can find your way back.Nether Essentials
- Diamond or Netherite Gear
- Bow + Arrows
- Gold armor to prevent piglin attacks
- Blocks to bridge and build
10. Long-Term Goals: Building, Trading, and The End
Now that you're equipped and experienced, it's time to set long-term goals. You can start massive building projects, automate farming using **redstone**, or set up advanced **villager trading halls**. Minecraft becomes a creative playground at this stage. Eventually, aim to defeat the **Ender Dragon**, which requires finding a **Stronghold** using **Ender Pearls and Blaze Powder** to make **Eyes of Ender**. Once you beat the End, you can explore **End Cities** and obtain **Elytra**, wings that let you fly!
Advanced Goals
- Defeat the Ender Dragon
- Build an iron farm or XP grinder
- Collect Elytra from End Cities